Tuesday 30 September 2014

Knitwear Chanel to Westwood- Fashion and Textile Museum

100 word review-
From the delicate hand knits of the 30s to the innovative designs of today the exhibition explored how knitwear has changed over the past century. Although many of the stitches and the fundamentals are actually the same the way knitting has been applied to designs and the scale of which it is used, has. Knitwear began with practicality, used for its warmth and flexibility and has developed through beachwear, two-pieces, fair isle, 70s novelty, distressed 80s and to todays revolutionised designs. Highs of now includes Julien Macdonald with his use of unorthodox materials such as neoprene and plastics as well as Sister by Siblings oversized and novelty creations.


(Knitwear Exhibition, FTM, Image from http://underlinesmagazine.files.wordpress.com/2014/09/dsc_0651.jpg, 30/09/14)

Monday 29 September 2014

Accessories- Day 1


Today was the start of accessories week. We were told to bring in a range of inexpensive items that we could use to create accessories, I brought in items like little tin trays, dominos, wire, metal washers, paperclips and cable ties. From this we then had a few hours to attach these together in interesting ways and shapes to create samples to inspire accessories. From these we photocopied them and drew into them to help understand the shapes better.
This exercise was really interesting as it allowed me to see how completely strange objects could be used to create inspiration for accessories. I particularly found the little tin trays good for this task as they could be squashed and moulded into different shapes before being joined together. Using the wire to join items was more challenging as was sometimes difficult to secure them together successfully such as the dominos with the wire but once joined they worked well as the wire is very flexible so I could mould the structure into new shapes.
For next time I want to try and maybe incorporate more items together rather than today when I kept it simple using just one item with one joining method, as this could allow me to create more beautiful and original accessories.


Friday 26 September 2014

Knit- Day 3


Today was the last knit day. We spent the day working on A4 size samples using all the techniques we learnt over the past few days combining them all together for use in our portfolios. Before starting we learnt one last technique:
Weaving- starting with a plain stitch you bring out needles while weaving a thin strip of plastic/ribbon/fabric between them in the desired design. Once weaved all the way along move the carriage across to secure the weave in place. I like this technique as it allows you to incorporate an alternative material which adds a new textured element or you can use an alternative coloured yarn to create a flatter woven design.
 After learning this new technique in pairs we went on to start our samples. We tried to use all the techniques we had learnt in the week allowing us to create more complex designs. We tried to incorporate all the techniques we had learnt, this allowed greater practice of the stitches and meant we could see what stitches we knew well and which we liked best. I found that I liked some of the stitches better such as orange peel and honeycomb and that I could still improve others such as the pyramid/bubble and the lace holes.
From this week I have found that I really enjoy knitwear, I enjoy the freedom of being able to create something from scratch and that it has so much flexibility in being able to use so many stitches to create shapes and textures. I do feel I need more practice with the stitches in perfecting them but I did find today that I started to learn how to fix mistakes such as when I accidently dropped stitches. Making these mistakes and being able to fix them was very beneficial as meant I learnt more about the machines and was gaining a better understanding of machine knitting. Overall I was pleased with the samples we made I found the more experimental designs worked out better as were more exciting to look at than the ones that were more just stripes of different stitches. I also think if I repeated this exercise I would try using more colours combinations as would create a different variations of design.

Wednesday 24 September 2014

Knit- Day 2


We spent today learning more stitches, this time involving two colours and more advanced techniques. This meant the stitches were more exciting and colourful as well as more interesting shapes. I feel I learnt quite a lot today which will be useful on Friday. The new stitches we did meant it was more complicated, my partner and I had quite a few issues with the threads getting muddled and jammed in the carriage but we worked out why this was happening when we swapped the threads over so once we realised to get the thread completely out the way the knitting went a lot smoother. I also found that I was getting more used to the machine today; I could cast on a lot quicker than Monday so was getting faster at starting the samples.

Hem- first we learnt how the hem the samples which made them look much neater. To do this you sew twice as many rows as you want the hem to be before picking up the bottom stitches and putting them onto the needles with the transfer tool working from the corners inwards, before carrying on knitting. It is also possible to add lace holes to create a pique edge. I enjoyed this technique and found it worked really well.
Stripe- alternate the threads in blocks by starting with a plain knit and swapping the threads by taking the original colour out and replacing it with the  new thread by looping the end round the clamp and putting the thread in the gate. This technique, once we mastered how to avoid the threads becoming tangled, was rather straight forward and I liked the neat finish it has.
Orange Peel- this was one of the more interesting stitches creating a swirling pattern. It is created using the holding tool and alternating which needles knit and which don’t. I really liked the finish this had; it looks quite dynamic in the swirling shape it creates as well as the pointed arrow blocks of colour it has. I found I managed to create this stitch quite easily and didn’t have too much trouble with it. I would like to experiment with it in larger sections to see how it can create a more ‘orange peel’ shape.
Bubble and Pyramid- this creates 3D shapes which can come out of the knit to create surface design or could be used to create a pocket design. I like the idea Bid said of stuffing these to create shapes that could come out of a garment. I found this technique quite difficult to do especially when swapping colours of thread as it was creating holes I didn’t want. These stitches are created using the holding tool again where you move out which needles to knit from in to out or vice versa depending on whether knitting the pyramid or bubble. I found this technique looked good when just one colour was used as creates a more subtle design which has a greater emphasis on structure rather than colour.
Fringe- Created with two yarns. One is placed on the floor and you create a plain knit with the other. Then you bring out the needles and create an e-wrap around each needle while also going round a ruler held one cm below the needles which creates the fringe. You do this all the way along before going over with a plain knit which secures the fringe. I had some trouble with this as I got the threads caught afterwards which pulled the fringe out. It was the end of the day so this is something I am going to have another go at next time so I can get it right.
Grafting-  This is a way of attaching two knitted shapes together where you take a few stitches from one piece and using the transfer tool place them onto the needles you are sewing with before carrying on with a plain stitch. This sews the two pieces together. This is a good technique as can be used to add extra elements to knit such as 3D shapes and designs giving more space for experimentation. 

Monday 22 September 2014

Knit- Day 1


Today was the first week of knit with Bid. I was really looking forward to this week, I really like the texture and finish of knitwear and how it is beautiful yet has a sort of casual quality to it. We started with learning how to set up the machines, I hadn’t used a knitting machine before and it was a bit confusing at first making sure everything was in the right place. After this we learnt how to do different stitches. At first I found casting on confusing as the first few times we got the thread in the wrong place and it got all caught up but once we worked out the correct way the thread needs to be particularly around the carriage it became easier.

Plain stitch- where you just run the carriage back and forth creating an even plain knit.
Honeycomb stitch- probably my favourite stitch, do a plain stitch then about an inch from the needles use the transfer tool to pick up a few lines of stitches and put them over the needles before carrying on a plain stitch. This creates on one side a gathered effect and the other it dips in like a honeycomb.
Lace hole stitch- I found this the hardest stitch to do as kept accidently dropping stitches and creating extra unwanted holes. To do this you create a plain stitch and then where you chose you use the transfer tool to pick up a stitch and place it on the left or right needle before doing a few rows of plain stitch. This creates little holes which when you do multiple of these can create patterns. This is definitely my weakest stitch which I need to practice more in getting even holes of equal sizes. I also feel this is a more tradition stitch compared to the others which I don’t like quite so much.
Drop stitch- this is similar to the lace hole stitch but with a ladder effect above it made by completing a lace hole stitch then doing a few lines of plain stitch before dropping the stitch directly above the hole and pulling down which ladders the knit till the hole. I liked the look of this stitch; it is quite modern and would look good layered over other fabrics which could contrast through the hole.

Overall I really enjoyed today, it was a really good introduction to knit and I find some of the stitches quite inspiring for my project especially for example using the honeycomb stitch around a cuff to create a ruffled finish to a jumper. Although by the end I was getting much more used to the machine I still need a lot more practice to get used to it and to learn mainly about how to fix mistakes when knitting such as if a stitch is accidently dropped which create flaws in the sample.

Friday 19 September 2014

Digital Print- Day 3


Today was our last day of digital print. Wednesdays homework was to create 3-5 prints using what we had learnt over monday and wednesday which I brought with me today. Over thursday I created four prints using my images I had gathered for the project all in grey tones. Friday morning we then learnt how to render these images onto a figure. Although I think I could have improved my figure wearing my print if I'd had more time as it looked messy the technique was very useful to learn as I could apply this to my own fashion drawings. Also from doing this I found that the prints I created worked well together so I could develop these into my project.

After lunch we printed out two A3 sheets of our prints and in groups we used the prints to create a garment on the stands. My group created quite a conceptual piece shown below which had a Japanese kimono influence. It was quite a difficult task in mixing all the prints together in a way that didn't look too messy. I liked how my prints in the grey tones helped pull together the bolder colours helping create a subtlety to it and although our piece couldn't be worn as a garment it could help inspire something more wearable which is a good quality to have.

Overall I really enjoyed digital print and I think it's something I would like to work more on as I felt I was getting better all through the week so if I could practice and create more it would be a possible new direction to my project.


Wednesday 17 September 2014

Digital Print- Day 2

Today was day 2 of digital print. We spent the morning learning new Photoshop techniques to create the print above in which we used offsetting and how to adjust an image into a repeat print as well as changing colours and layering images. I found some of this challenging such as trying to draw a cloud for myself as I was finding it hard to get it looking realistic at all so I just had to keep adjusting it continually until it was something I could be happier with. I also had to just keep adjusting the layout of the clouds and where to offset them too until it started to look more like a print rather than looking just too regular. From this although the print is very random I like the idea of layering we used such as the checks behind the clouds as creates a more original image.

In the afternoon we started to create our own prints in which we need to create 3-5 for Friday. I am finding this more of a challenge as it is creating a print from scratch trying to remember everything Dan has taught us. I think for this I need to try and create something that looks less structured as that is how I am feeling most of the prints I have tried out look. I also need to decide on the colour I am going to use for my project as this is what colour I need the prints to be.

London Fashion Week

Yesterday, on my day off I headed over to Somerset House to absorb some of London Fashion Week. I spent most of the time wandering around photographing street style such as the three guys above. I saw some interesting people and looks and it was fun to just feel the buzz surrounding fashion week. 

While there we managed to get into a LFW talks digital panel talk. It was very interesting and brought up thoughts about the fashion industry and technology that I hadn't considered. They spoke a lot about how social media is changing how brands are advertising and connecting with clients and it made me realise how much of a big and important factor this is now and how actually it is one of the best ways to get discovered and gain support from your customers. Another point it made me really think about is how technology is being used in the fashion industry. Personally I guess I had been thinking that technology is developing quite fast because new products seem to be thrown out so often but the panel pointed out how much it is in its infancy in terms of the fashion industry and there is a gap for designers to find a way of incorporating technology in a way that is useful.

I found this talk helpful really, it gave me a greater understanding of the technology industry and exactly how relevant it is. I also enjoyed the experience of visiting Somerset House and also having the confidence to go around asking people to take their photos which at first was a bit daunting but ended up being a great experience.

Monday 15 September 2014

Digital Print- Day 1

Today was the first day of digital print. We spent the day learning the basics of Photoshop as well as the knowledge behind print design. I knew some basics to Photoshop through using it at school and some of the print repeats such as straight and half drop from working in an interior design showroom however I still have a lot to learn. I enjoyed seeing the different examples of print design and some unusual examples of print (studio XO) from Dan’s presentation. We started creating basic geometric patterns by creating a small design that was then repeated, in a straight drop then half drop using tools such as the marquee tools, fill tools, free transform and using layers. We went on to selecting areas of photographs for use in print designs using lasso and quick selection tools.

From today I think I will enjoy print but it will also be a challenge. I am starting to get all the basics of Photoshop but I am looking forward to using complex images and gaining a better knowledge of how these can create prints as I don’t have any familiarity of this now. I also need to become more familiar with Photoshop as well as Apple laptops so I can use and know them more naturally (plus learn how to use print screen so I can record my work rather than photograph the screen!)


Friday 12 September 2014

Capsule Collection

Today’s first task was to watch the Proenzer Schouler SS15 show and note down 10 features of the collection that buyers and high street designer might look for and could interpret. It was interesting to see how certain features flowed throughout the collection (high necks and accessories) and also how the collection developed (and how prints developed from spots to reptile print). Finally I found the collar palette interesting as it had an autumn/winter feel because of its darker colours which was also emphasized by the oversized parkas which gave the collection a fascinating twist.

After this exercise our next task was to design a five outfit capsule collection with each outfit consisting of two garments. We used our drawings from Mondays ‘speed designing’ workshop as inspiration so I initially picked a scooped hem as my first feature to run through the collection. I went for a fairly dark colour palette of navy, moss green, black and soft grey as it is an autumn/winter collection in fabrics such as wool and leather. I focused on some oversized silhouettes on the top of the body with streamlined bottoms. To improve I would like to develop my drawings in particular adding faces whether that’s through practicing drawing or collaging heads  onto the figures as will help give them more personality. I also want to learn how to draw surface textures onto the illustrations such as if the garment was wool as at the moment they seem a bit flat and lifeless.

At the end of the day we had a chance to look round everyone’s work and from this reflecting on my own work I am pleased with the flow my little collection had and how features and fabrics ran through it but I also think I could be more experimental with it like possible where some of the shapes are oversized think how they could be altered more to be more original. 


Thursday 11 September 2014

Life Drawing


Today we had a life drawing workshop to develop our drawing abilities. I have done life drawing quite a lot before and I really enjoy it. We started the day with some fast poses only being a couple of minutes. These drawings weren’t as successful as I found I needed these poses to get into looking and drawing correctly to adjust back to proportions. After, we did some poses where the model was wearing a kimono. I enjoyed these clothed poses, drawing the movement of the silk was very interesting and created different shapes and areas of light and dark. We then went back to nude poses which were longer of about 20 minutes. After getting the proportions right I tried to focus on the tone of the body capturing the areas of dark and light.

I mainly used charcoal as I like the bold line it creates as well as how quick it is to use which creates dynamic lines. I also tried adding blocks of bright colour to the pages to make the images more exciting as allows certain areas to be highlighted. Something I have struggled with before with life drawing is trying to capture the whole body onto the page so this time I tried working smaller and this allowed me to draw the whole pose meaning I could work with all the shapes the body created to create a more whole image. Something I am still struggling with is hands and faces which I find very hard to draw so I need to sit down and study these areas in greater depth to improve my work.

At the end of the day we went round looking at everyone’s work, on the whole I was very pleased with my work but I liked some of the ideas others had. In particular I liked Jad’s idea of using black tape to isolate areas which created a collage element which was more exciting to look at. Another technique I liked was to use the side of the charcoal stick to add in tone which gave a more textured effect. 

Wednesday 10 September 2014

3D/ Stand Workshops


I found today a really useful day, we spent the day working on the stands doing different workshops. I hadn't used the stands for design development before so it was a new way of working. We tried out 4 different methods, laying flat shapes to the stand, building off the stand by joining flat shapes to make 3D shapes, draping using one big shape and finally creating seam lines and silhouettes using strips. I most enjoyed the joining of flat shapes to create 3D structures, I felt this created really interesting silhouettes which will be really helpful when designing details of garments such as sleeves and necklines as it allows you to visual the shapes better and how construction could work, which can be difficult when just designing flat.

I also found these exercises useful as they help build directly off some of my sources of inspiration. The joining to create 3D structures is reminiscent of Ibrahim Mahama's work which I saw at the Saatchi where dupe sacks were roughly joined with raw seams which I am looking at for attachment. It also was useful for looking at a metal curved structure I have been looking at and from which I decided the shapes I would use today were from, I shall be investigating this more next in the project.

Tuesday 9 September 2014

Design Workshops

Yesterday we spent the day in designing workshops working on how to get ideas down quickly. The workshop began by focusing on details in clothing. We picked two details we liked about what we were wearing and drew them quickly. From this we broke it down into shapes, like the example of the collar of a Vivien Westwood shirt being broken into three triangles. Breaking items down into shapes means we can focus on the three points of: detail, shape and line. I found this idea really interesting as it allows you to see items and images in new ways and in a more basic form which are then easier to work with.

Following this we started ‘speed designing’ having 5 minutes for drawing ideas for pockets, collars, sleeves and seams. I found this exercise really useful, without the time to over think you can create interesting shapes in quantity which gives you more to work from when designing. We then used our design details to apply these into quick garment designs following the same format. We finished the day by drawing out five outfit designs, before picking our favourite to share with the rest of the room.

I found this workshop really helpful, having the time pressure means more designs are being produced quickly which are usually just simple but are then helpful to expand on into more detailed designs. I want to use this process in the structure/attachment project to develop on the imagery and research I am using by finding shapes I can then turn into ideas. I think to improve I should try although while working quick to think slightly more into the details of ideas such as possible surface texture or seams as well as pushing myself further into more experimental shapes. I found being able to see everyone else’s work at the end of the day was also useful as opens your eyes to how others are presenting their work and to how it could make your own work better, I found I could add some more personality into my work to improve my presentation skills as it makes designs look more energetic and exciting. 


Saturday 6 September 2014

Concept Board


Friday was spent researching and working on our concept boards.


Gathering all the imagery I collected together, I started to think more about the titles and where my images were leading. I found for the title ATTACHMENT the images were leading towards the route of physical attachment while for STRUCTURE they were going towards the idea of close up structures.

For creating the concept boards we did an exercise where we initially had 5 minutes to create a layout before we then swapped around so others could rearrange our boards. We photographed them between each change. I found this exercise really helpful as it opened my eyes to different ways that the images could work together which I hadn’t thought of as well as making me realise what else I felt the board needed. From this I felt that working with attachment that I needed some more imagery of different sizes as well as possibly changing to a greyscale from some of the brighter colours which I felt didn’t really work together. I felt my structure board was coming together better, it had a more promising range of imagery and the colours and images blended together more smoothly. 

Once home I carried on moving the images round and gathering more imagery where needed until I created a layout I was happier with. I believe to move forward now, I need to use these initial concept boards to research further into colour and start to pick specific areas where I can start to find shapes and ideas which may be able to influence designs in the next week. I’m initially finding the rawness and industrial feel in many of the images most interesting as well as the combination of materials and textures and how they are appearing together. These are things I will continue exploring further in my sketchbook from this point.

Wednesday 3 September 2014

Saatchi 50 word Review


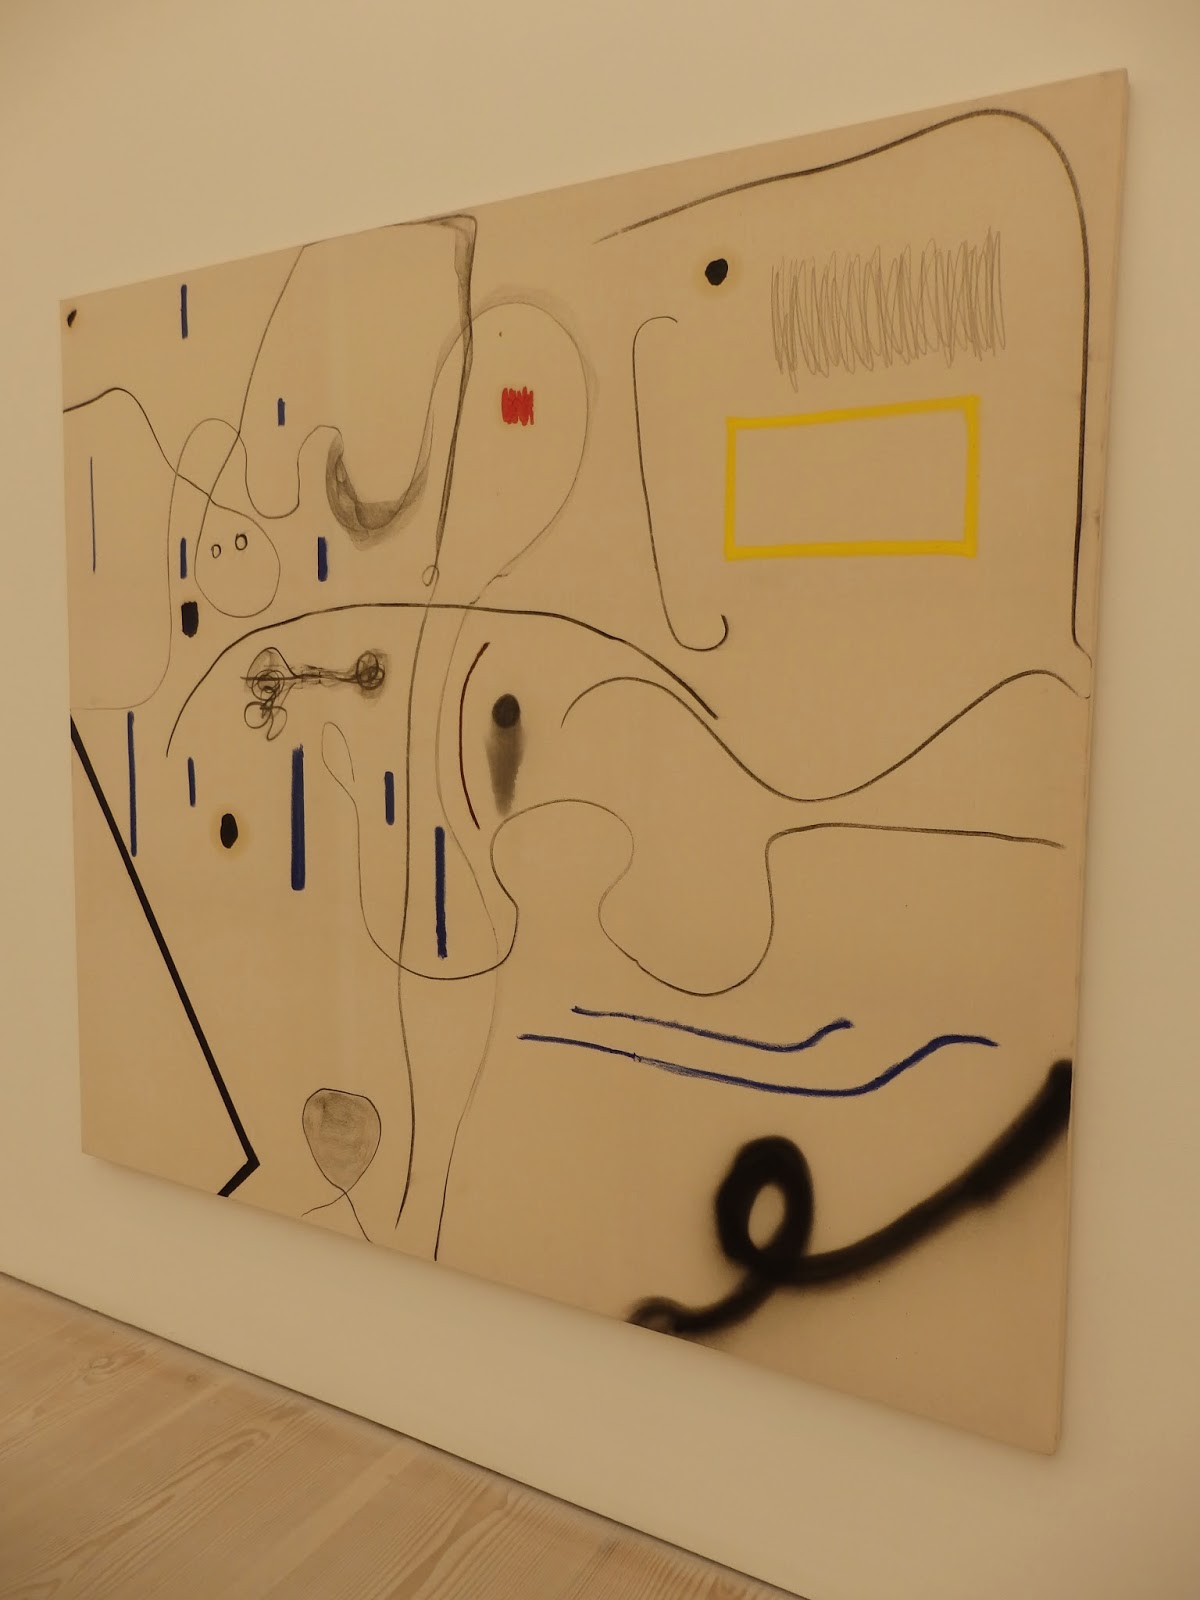
From Oscar Murillo’s mark-making to Rafael Gomezbarros’ giant ants; the work felt modern and with many playful. A personal highlight was Christian Rosa’s doodle like pieces due to their lightness and childlike quality. The talk gave a passionate insight into chosen work while the rest was left free to interpret.  

Tuesday 2 September 2014

First Day...


We began with a presentation about the project called STRUCTURAL ATTACHMENT. Initially I like the title it’s open and excites me to where it could go.We had to bring in three items relating to structure and three to attachment. My six items are:

Zip- item for attaching two parts together, mainly used as a temporary attachment to connect two sections together.
Locket- I picked this locket as I have a strong emotional attachment to it. It was a present from my dad and contains two pictures of my late mum, so represents FAMILY and LOVE. I think love is a key feeling of attachment as it is what allows you to connect with an object or person and what makes it special to you.
Padlock- can represent both a physical and emotional attachment. Physical in the sense it can bond and lock two items together. Emotional in it reminds me of the padlock bridge in Paris where two padlocks represent the bond of two people.
Skeleton- I find the human form very fascinating as is such a complex and essential structure full of beautiful shapes such as the curve of the spine.
Woven fabric- way of creating a structure through the weaving of materials.
Feather- I chose this object because of its delicate and interesting structure.

We started by sketching our objects, observing its form, close up details and angles as well as noting down why these items are relevant and what we liked about them. I mainly did fairly quick line drawings as I find it a good way to capture the object while giving the drawings some energy. I focused mainly on the shapes I could see to observe the structure of them. I think to move on I want to look closer into some of the objects such as the woven fabric piece, the feather and the skeleton image to explore in greater detail. I would also like to experiment with drawing in different materials other than pen and pencil: ink and possibly collage would be interesting to move onto.

In the afternoon, we went around Ravensbourne observing what we could see to do with the words structure and attachment. I sketched the wire railings for their structure, the chunky bolts attaching parts of the building together, the wired ceilings, construction of the levels and structure of the cable car posts going over the Thames. I picked most of these as I like the industrial feeling they have and the raw, exposed metal structures they have. I will continue to work into these drawings at home as some of the sketches were very rough and could contain greater detail, which will make them more useful to me.